Cherry Pie Tart
As an Amazon Associate and member of other affiliate programs, I earn from qualifying purchases.
I never knew what a fresh cherry was like, for half of my life so I never made a Cherry Pie Tart like this one. Before I came to live in America the only cherries I knew were bottled ones, those artificially colored Maraschino ones you put on top of an ice cream sundae. I always thought cherries looked like that. Till I came to live here in the States.
We never had fresh cherries in the Philippines. They don’t grow there. So during my first summers in America, I ate my first fresh ripe cherries, and I was floored by how magnificent they tasted.
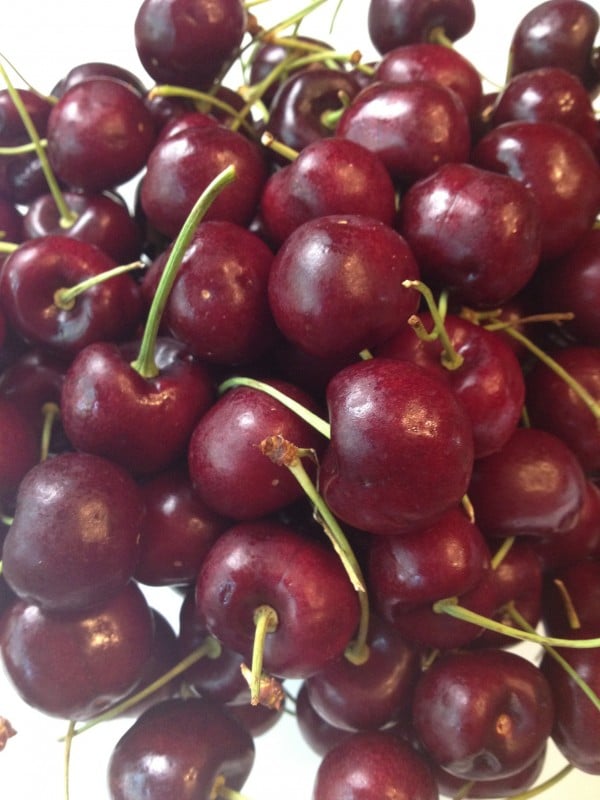
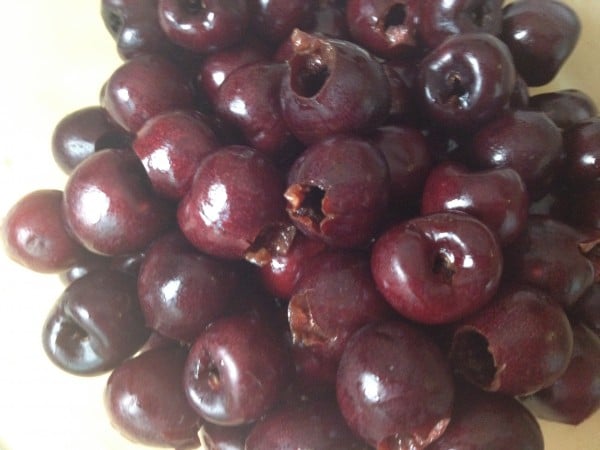
Bing cherries by the bowlful were what I looked forward to every June to July from there on. I was fascinated by the different red hues of each cherry in the bowl. They ranged from deep red, some even bright “cherry” red to a dark maroon.
Soon I discovered the darker the red cherry hue, the softer and more succulent it was. Even the flavors differed according to color. The bright red ones in the bowl were slightly tart. But the darker ones were sweeter. The fruity, refreshing cherry flavor lingered on for a while till I popped the next cherries in my mouth.
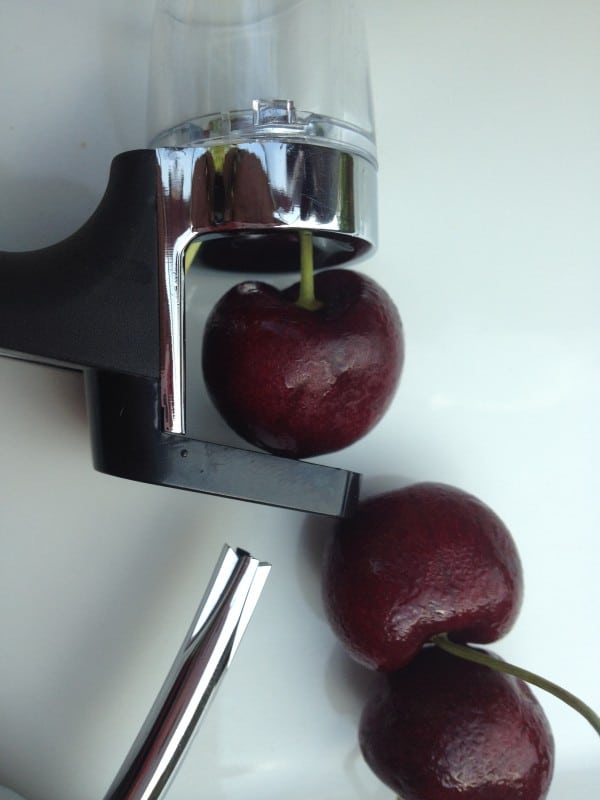
Recently, I got a cherry pitter. This fantastic contraption is the best invention ever. I can make a cherry pie tart without difficulty.
Cherries were on sale, so I did not hesitate to buy several pounds. When I got home, we got straight to work. I made the pastry crusts and let them cool off in the refrigerator. While that was happening, the cherry pitter got busy. I ended up having 4 large cups of pitted cherries and pre-cooked them for a few quick minutes with sugar, cornstarch and a hint of kalamansi, the Filipino lime. The sensation of lime in the cooked cherries gave it a slight, interesting tartness. These flavors went well with the buttery crust.
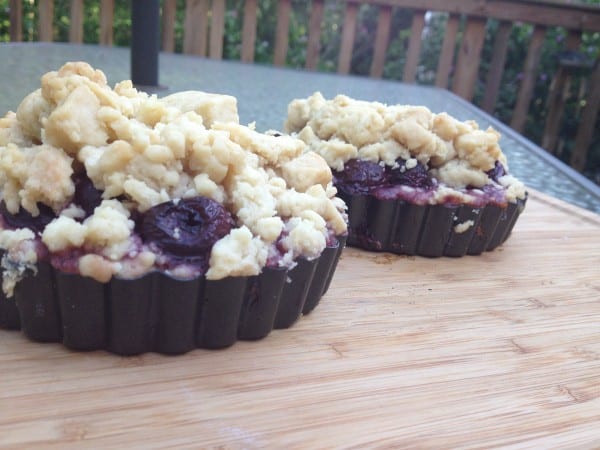
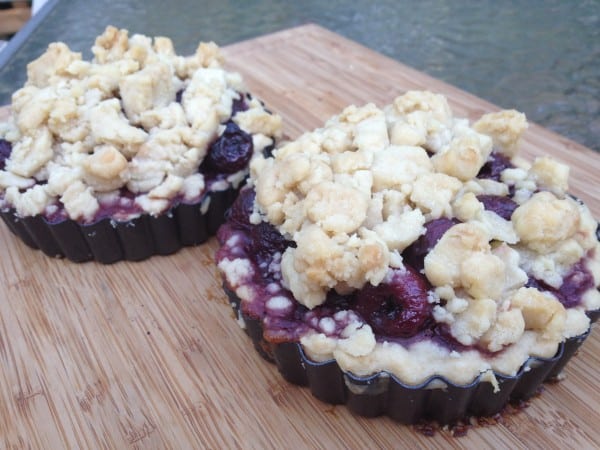
I made four small pie tarts, each measuring 4-inches in diameter. These made the baking more manageable and our eating portions more controlled. The little pie tarts baked well. Once the crusts were rolled out and the filling was filled, there was no turning back.
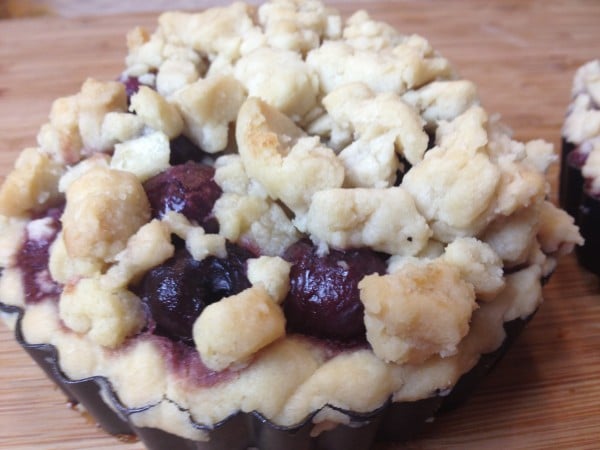
The oven yielded happy aromas from the cherry pie tarts within. It didn’t take long. Once ready, the fruity and sweet scents were so inviting. As soon as I plunged my fork in the crumbly, flaky crust, I sniffed the heavenly pastry aroma. A couple of plump, deep dark maroon cooked cherries lay lazily on the crumbled crust, with hints of its own syrup threatening to dribble down. I grasped the whole forkful and made sure to eat the mouthful of cherries on pie, before it got cold. It was sheer indulgence. Oh my cherry pie, where have you been all my life!
Cherry Pie Tart
Equipment
- Cherry pitter; 4 mini tart pans or a 9-inch pie plate
Ingredients
- 2 1/2 cups all purpose flour
- 1 teaspoon salt
- 1 cup Crisco shortening chilled
- 4 to 7 Tablespoons cold water
- 4 cups fresh ripe Bing cherries washed, stems removed, pitted fresh
- 4 tablespoons cornstarch
- 3/4 cup sugar
- 1/8 teaspoon salt
- 2 teaspoons calamansi juice the Filipino lime (calamansi frozen concentrate is found in Asian markets); or use lemon juice
- 2 Tablespoons unsalted butter cold, enough to dot top of cherry pie filling
Instructions
- To make the crust: Combine the flour and salt. In a food processor, add the well chilled shortening and process. The flour mixture should resemble a coarse texture that look like little peas. Slowly add the cold water, starting with 4 tablespoons first. Process well till consistency is smooth. After pastry mix is blended, smooth and shiny, divide into two round disks. Wrap in plastic and refrigerate for at least an hour or longer.
- To prepare cherry pie filling : Wash and pit the cherries. Discard the stems and pits. Wash again thoroughly.
- In a medium saucepan, combine the cherries, sugar, cornstarch, 1/8 teaspoon salt and calamansi (or use lemon). Over medium high heat bring to a boil. Lower heat and let simmer for 5 minutes. Turn off heat and set the cherries filling aside till the pastry crust is ready.
- Take out the pastry crust from the refrigerator. Using a rolling pin, roll out the pie crusts on a floured surface of the counter.
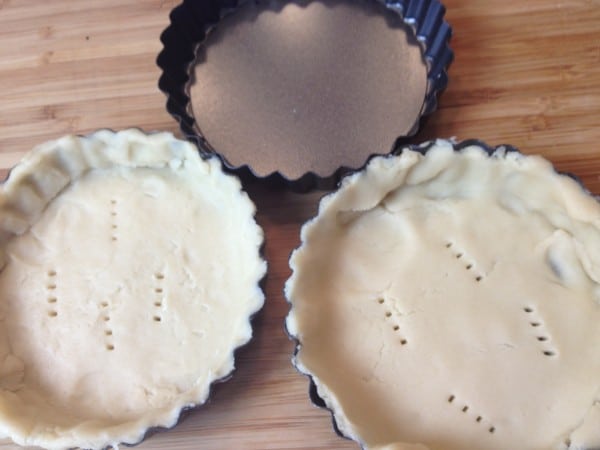
- Prepare four pre-greased mini tart pans, each measuring 4 inches in diameter. Shape and place the bottom crust on each tart pan. Pierce bottom of crust with a fork.
- Bake bottom pastry crusts in a preheated oven of 350 F degrees for 12 to 15 minutes.
- Take out the pre-cooked pastry crusts from the oven. Fill each crust with the cherry pie filling. Dot the tops of the cherry pie filling with butter cut in small pieces.
- Take the second half of the unbaked pastry crust and crumble into tiny pieces with your hands. Pour this crumbled pastry over the cherry pie filling for the top layer.
- Place the 4 cherry pie tarts on a tray. Bake in a preheated oven of 350 F degrees for 25 to 30 minutes or till the tops becomes slightly brown.
- Hello, Friends! All the images and content on this blog are COPYRIGHT PROTECTED and owned by my media company Besa-Quirino LLC. This means BY LAW you are NOT allowed to copy, scrape, lift, frame, plagiarize or use my photos and recipe content I wrote, on your website, films or videos without my permission. If you want to republish this recipe or content on another website, video or news article, please ASK my permission, re-write it in your own words and simply link back to this blog to give proper attribution. It’s the legal thing to do. Thank you. Email me at [email protected]
Nutrition
Nutrition Notes: The nutrition information provided is an estimate and will vary based on cooking methods and brands of ingredients used.

